A JOURNEY WITH TREX part 2
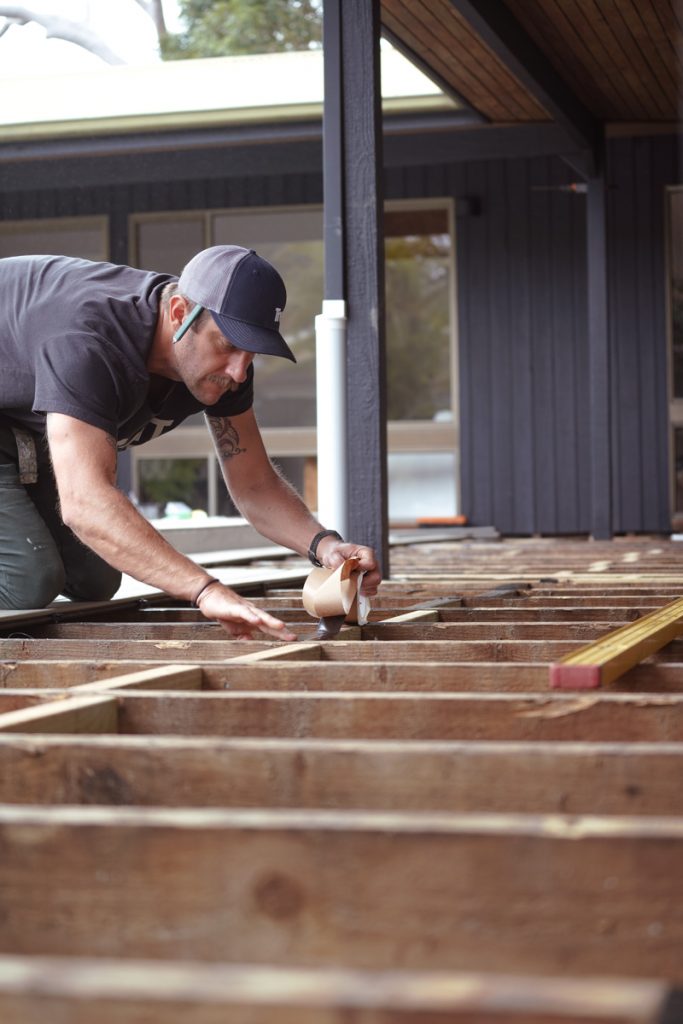
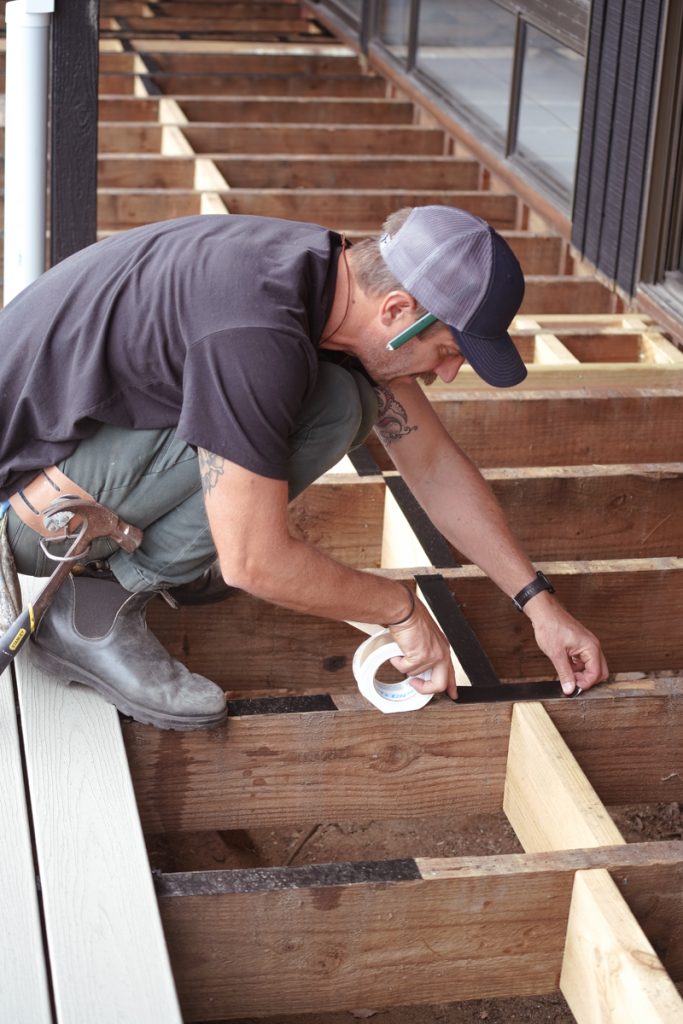
The deck subframe was looking really solid and with the Trex Protect joist tape down, I knew the timber subframe would be protected from whatever the boys spilled on the deck and any moisture that can lead to rot and the loosening of screws and fasteners. It was time to lay the boards. The deck is actually pretty square, and the pool runs parallel to the house, so we had no qualms about boards running out on all sorts of angles as we approached each end. We had the breaker-board framing in the right place, so it was time to lay the decking.
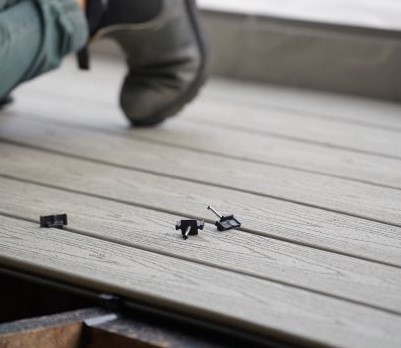
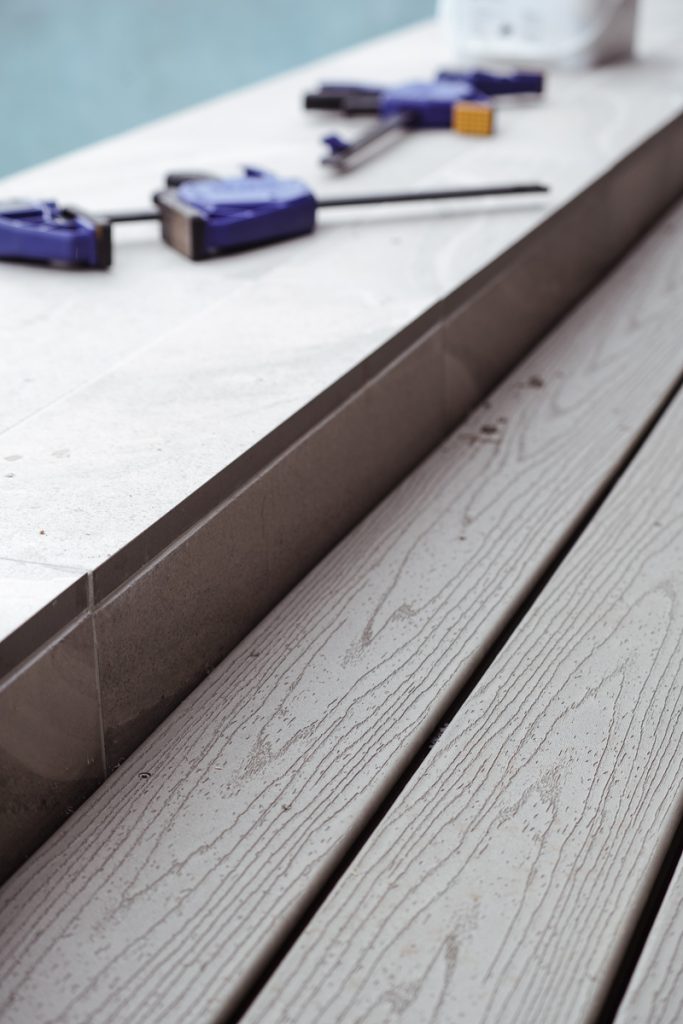
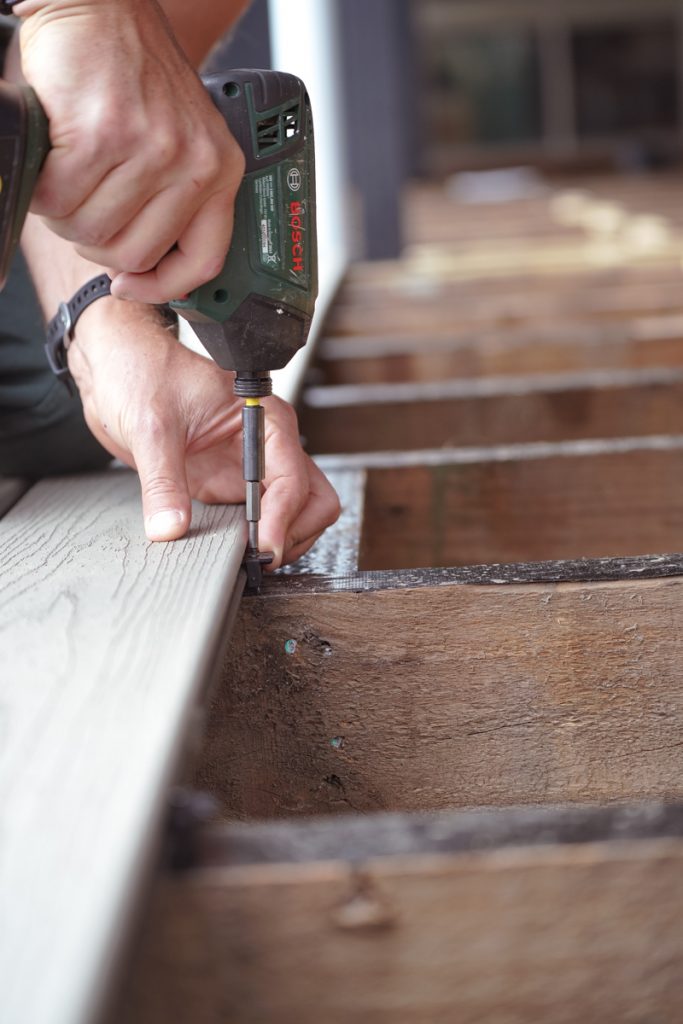
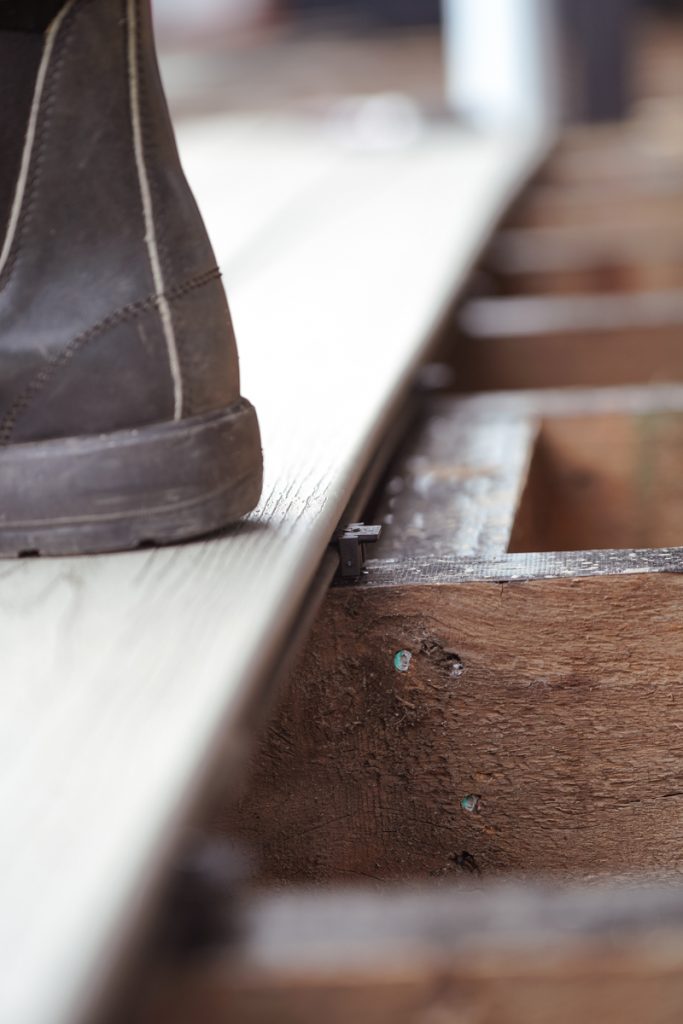
We cut the first board exact to fit between the breakers and face fixed it against the pool coping, leaving 5mm for water runoff. The fixings are very discrete and barely noticeable, but best of all, the screws went in like butter with no pilot holes and no counter sinking! Once our first Trex Transcend Decking board was down, we slipped in the hidden fasteners (almost like a toggle with a screw through the centre) and half screwed them down into each joist. The toggle catches the sides of the decking board and holds them down, but since we only had one board on one side, we didn’t screw it down tight. We then placed the next board down (not cut exactly to length but we left them a hundred or so mm long) and slipped the routed edge into the half screwed down toggle and hit the board up tight against it. We lightly screwed down another set of toggles on each joist on the side facing the house to secure the board in place and then we could go back and tighten the first fasteners down to really pull that first board down. Keeping the leading edge fasteners a bit loose makes the next board easy to slip in. It’s only when you get ahead of yourself do you go back and tighten the previous hidden fastener.
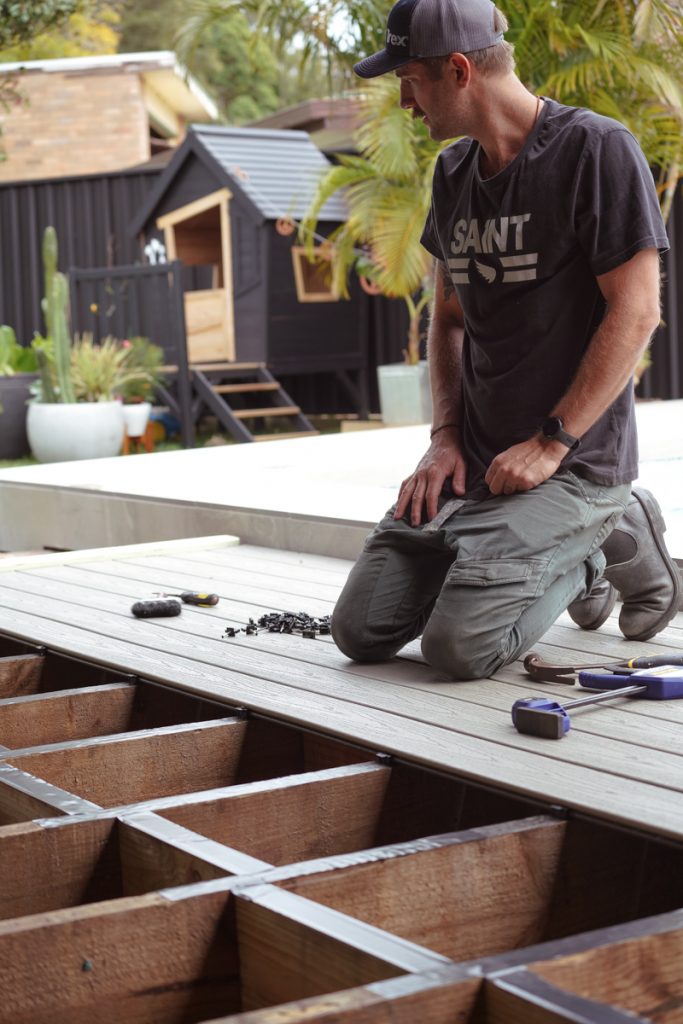
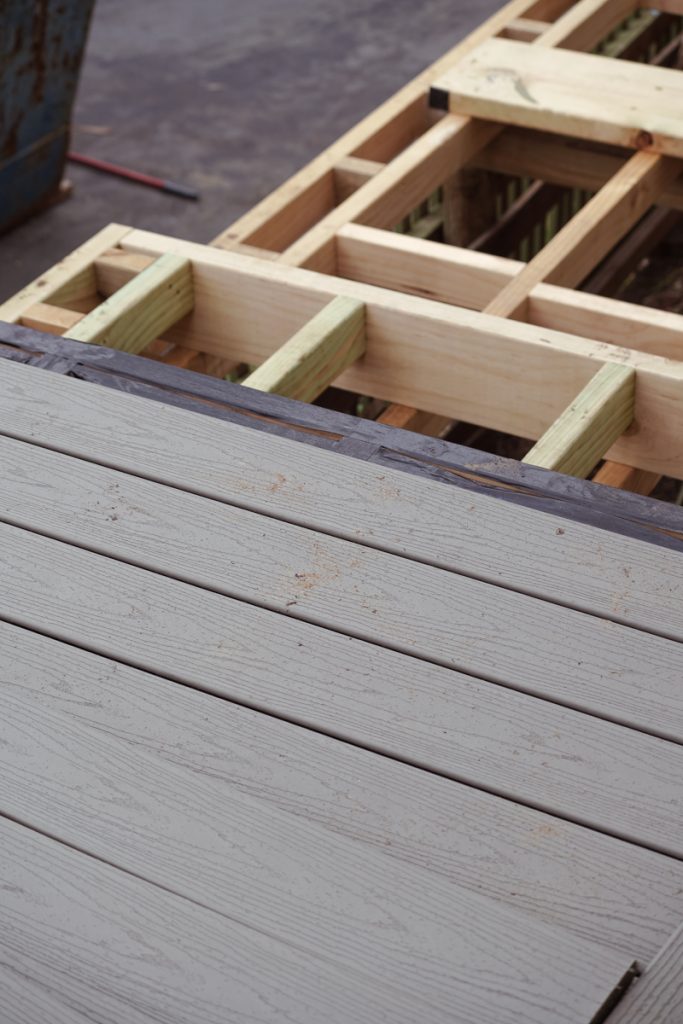
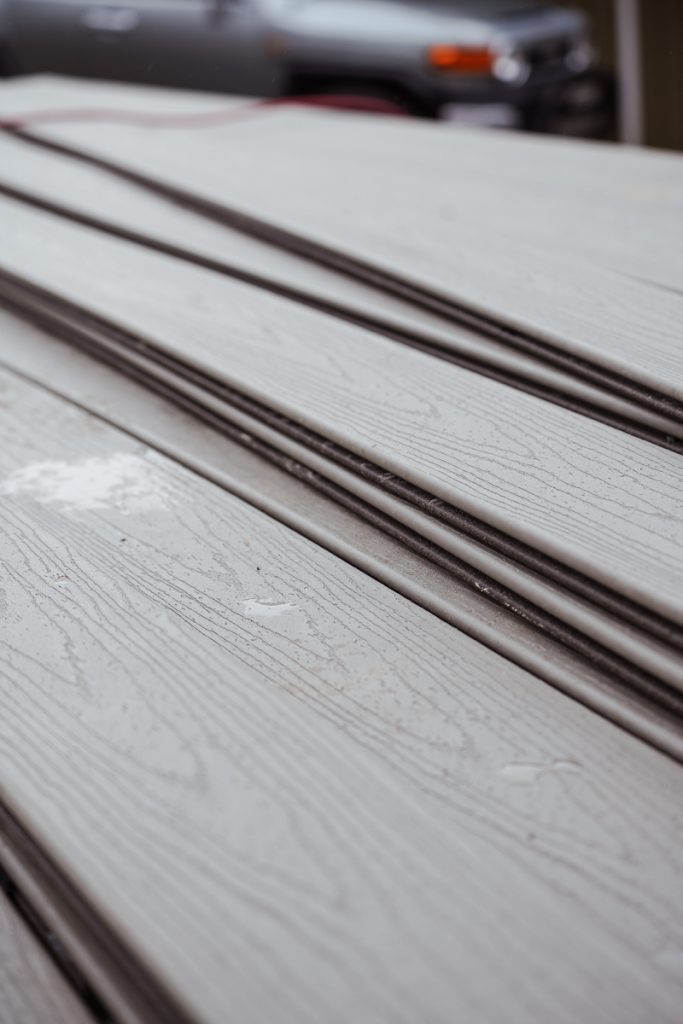
We repeated this again and again, making sure the previous set of fasteners were tight, checking we were running square and not cutting our boards to length until we got to the last couple of boards. These we cut to exact lengths and carefully placed and fixed down clamping them against the house to get a snug fit. We face fixed the last board down, as we had to rip it to suit. We then ran a track saw with a brand spankin’ new blade cutting all the boards in line with the first and the last signifying where our breaker-boards will run. We did all of this four times on each side of the breaker-board spaces and it would have taken us around eight hours, that’s two of us and about eighty square metres of decking – we could have never pulled this off using timber!
The breaker boards were pretty easy to lay. They pretty much just do away with the option of butt-joining the composite boards, as the boards swell lengthways and open and close with the weather. The set-out of the breaker boards is important as it’s a design feature in itself, and a change in the direction and grain of your decking boards. Once these were down I left Adam from Kuwashi Built to figure out the section of mitre joins where the deck tuns ninety degrees. He pretty much lined up the boards and separately face fixed each one, meeting at a 45 and cutting to suit.
Then it was onto the stairs, the fascia and the finer trims to pull it all together. We used a hidden stringer to frame out our staircase, and once it was all framed, it was an easy task to get the boards down. We had to think about a design that minimised us showing the edge of the boards, but for the edges that were exposed, we made sure we used a solid board and not the grooved ones suited to the hidden fastener system.


It really is a simple system to use, but I’m glad I had a pro on hand for all the fiddly bits. I couldn’t have tackled the stairs or the mitres on my own, so it’s pretty important to get professional advice before you tackle any large size project at home. Please know that this Trex Decking was supplied as contra, but all the creative, opinions and insight are my own. It’s all laid and performing well, I’m really happy with the colour, the feel and how easy it is to clean but we’re going to wait on the final images to show you what else we’ve been working on.
STAY TUNED!